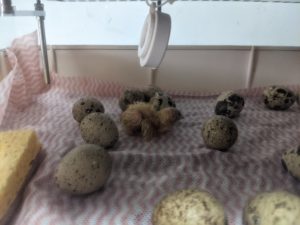
Currently the quail eggs are also in lockdown, how ironic! They have just started pipping which has finally motivated another blog post, so here we are.
In preparation for the arrival of our fertile Crested Cream Legbar chicken eggs in mid October, we thought it would be best to have an idea of the incubation process with something… cheap and cheerful. So on Monday 6th September, we bought two dozen fertile japanese quail eggs and had them express posted they arrived the following day. They were packed in a large post box filled with wood shavings for protection. Out of the 24 eggs, only two of them were cracked and unsuitable for incubation. The rest of the eggs were intact, clean and ready to go! We chose japanese quail because they are larger birds and are relatively easy to care for.
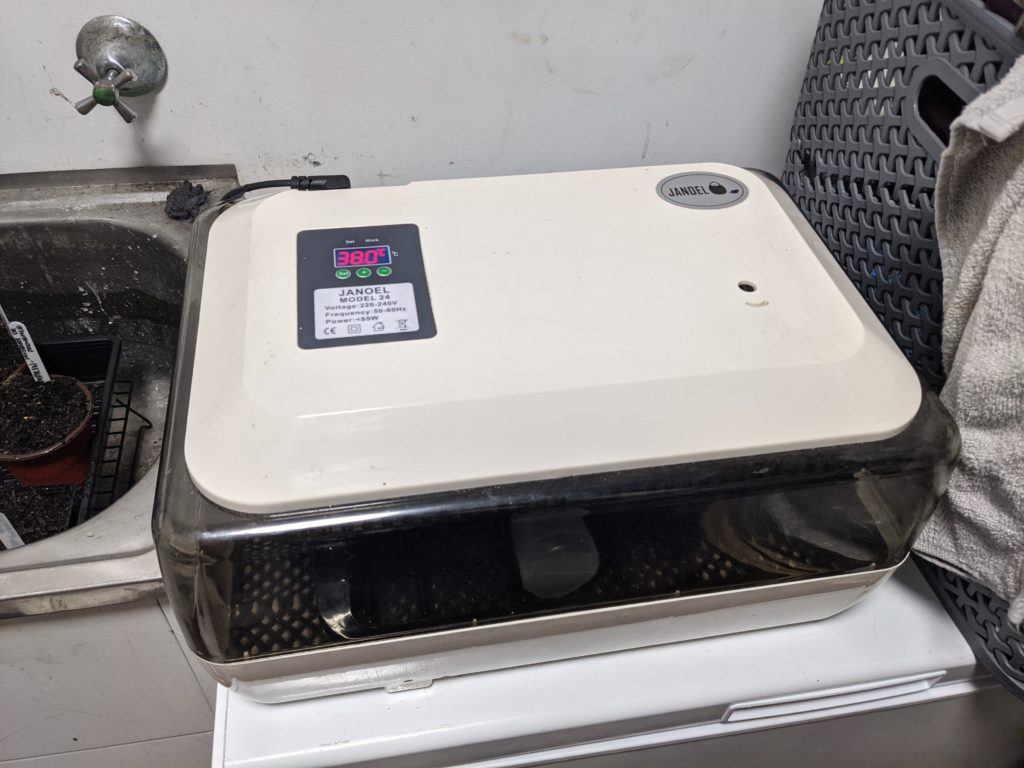
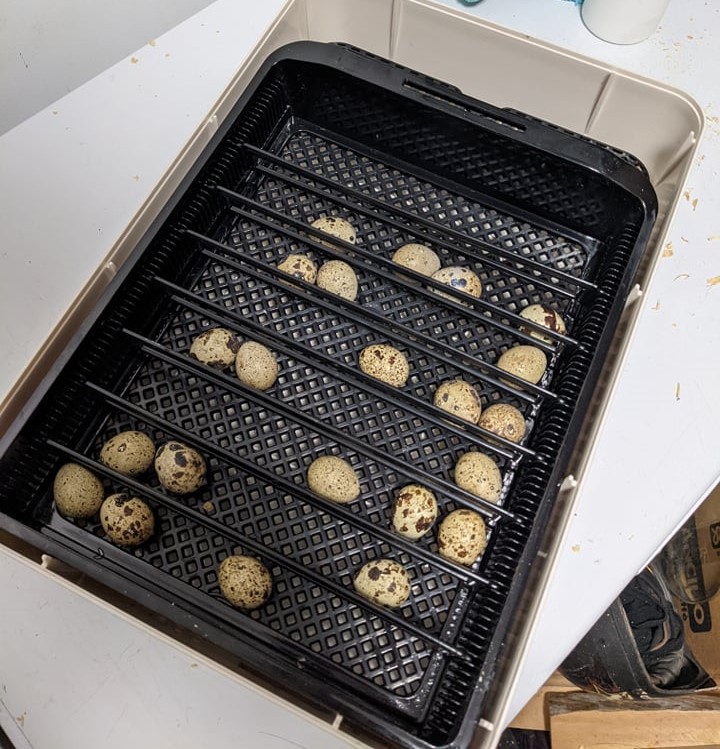
We bought a JANOEL Model 24 incubator that includes an automatic rolling feature that rotates the eggs ever few hours. This is very important to prevent the yolk from sticking to the inside of the shell which impairs the formation of the embryo. We could have rotated them ourselves every 4 hours, but realistically that was just not going to happen. On top of the base plate, there is a tray with adjustable sections that the automatic turner sits into and pulls the tray back and forth rotating the eggs.
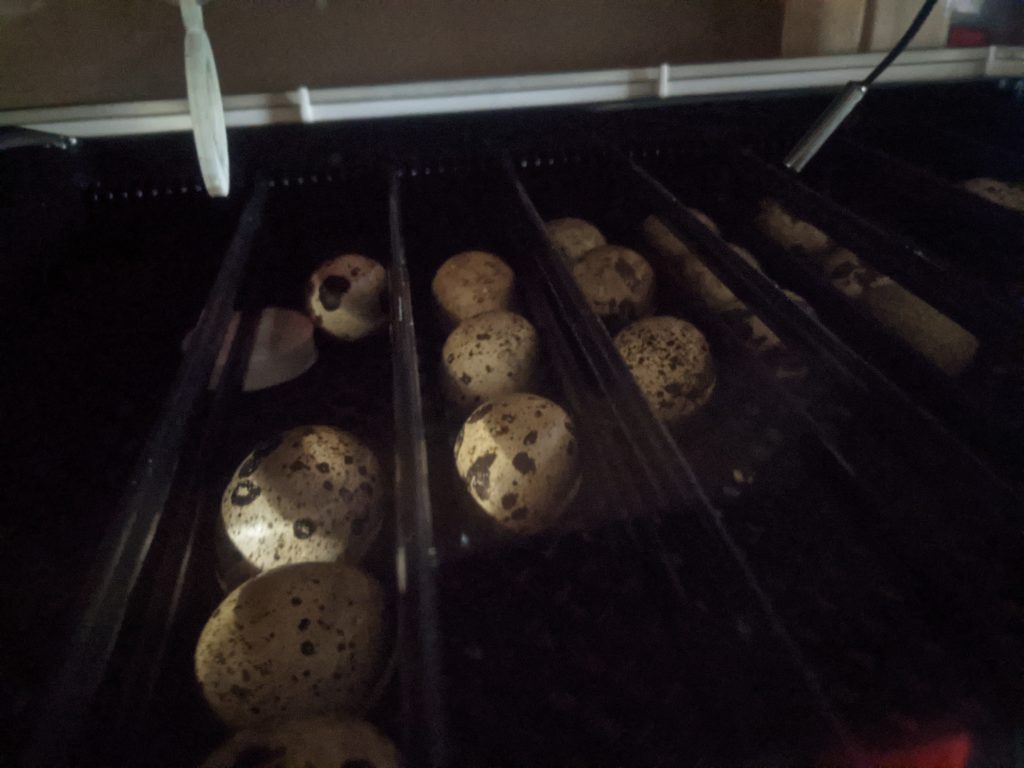
We sanitised the incubator with animal safe odour remover and sanitiser for coops and aviaries called VetSense Coop Clean, placed the eggs in the tray with an additional temperature and humidity monitor.
The incubator itself has a temperature controller, but there was no way of monitoring the actual temperature and humidity, which isn’t a huge issue during the first 14 days of incubation, but very important during lockdown. Every morning, we filled the channel in the bottom of the incubator with 150mls of water to keep the humidity around 70%
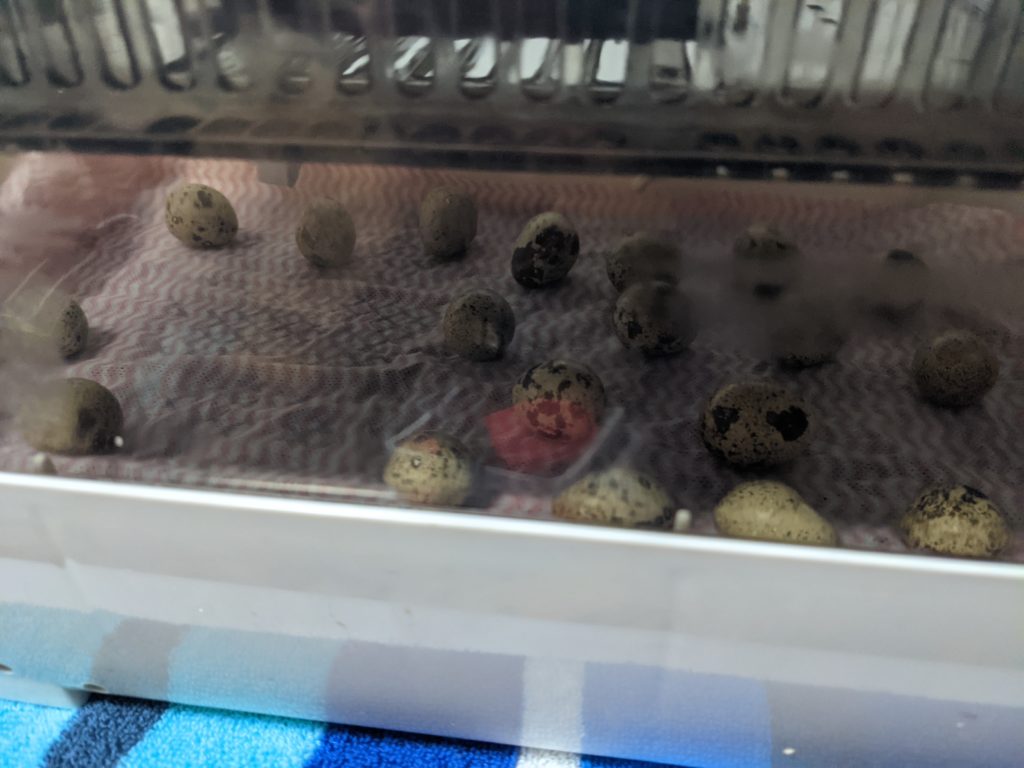
There are many slightly different methods of incubating, each with allegedly better outcomes. We decided to go with the easiest method with the least amount of disturbance to the eggs was best for us.
After putting the eggs in the incubator, we didn’t touch them until it came time for candling on day 14, as we set up the incubator for lockdown.
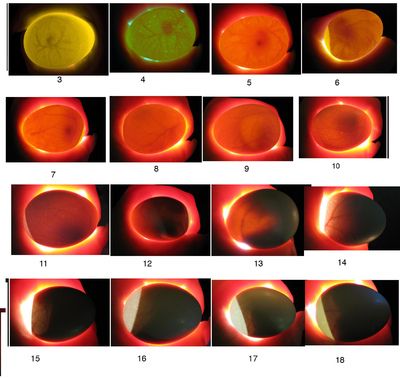
We just used the torch on our phones to do this by shining the light through the egg to see whether it was adequately developed. 20 of the 22 incubated eggs were completely dark with an obvious air pocket (similar to day 15-18 on the picture), meaning they are viable. The other two lit up completely meaning the eggs had not developed properly and weren’t going to hatch. Some people recommend candling on day 7, but we lost track of the days and honestly couldn’t be bothered. You would candle on day 7 to check viability at an earlier date than before lockdown.
Lockdown in this case, is not socially distancing the eggs and restricting their movement, but the strict maintenance of temperature and humidity to allow the fowl to hatch in the ideal conditions. It is vital the humidity remains around 70% to allow for the porous shells to be softer and easier for the chicks to break their way through. It also prevents the inner membrane from drying out and essentially strangling and suffocating the chicks in the egg. This increase in humidity is obtained by increasing the water in the base of the incubator to 300mls total daily.
The turning tray with the adjustable sections was removed and it was recommended a non-slip, non-absorbant insert on top of the base plate. We used a chucks cloth, but will probably opt for one of those non-slip mesh draw liners next time as the chucks was still a little too absorbant. The humidity was dropping to 60% even with the 300mls and we were adding an extra 150-300mls every day for a total of 450-600mls. A suggestion we took on board was putting cut up sponges in the base of the incubator which allows the water to evaporate slower and maintaining a more stable 70% humidity.
So now we are caught up to today, Thursday 23rd September. The eggs have been in lockdown for 2 days, and two eggs have started pipping. Pipping is when the chicks start pecking through the shell and will hatch in the next 24-48 hours! It can take up to day 20 for all the eggs to hatch, so patience is key.
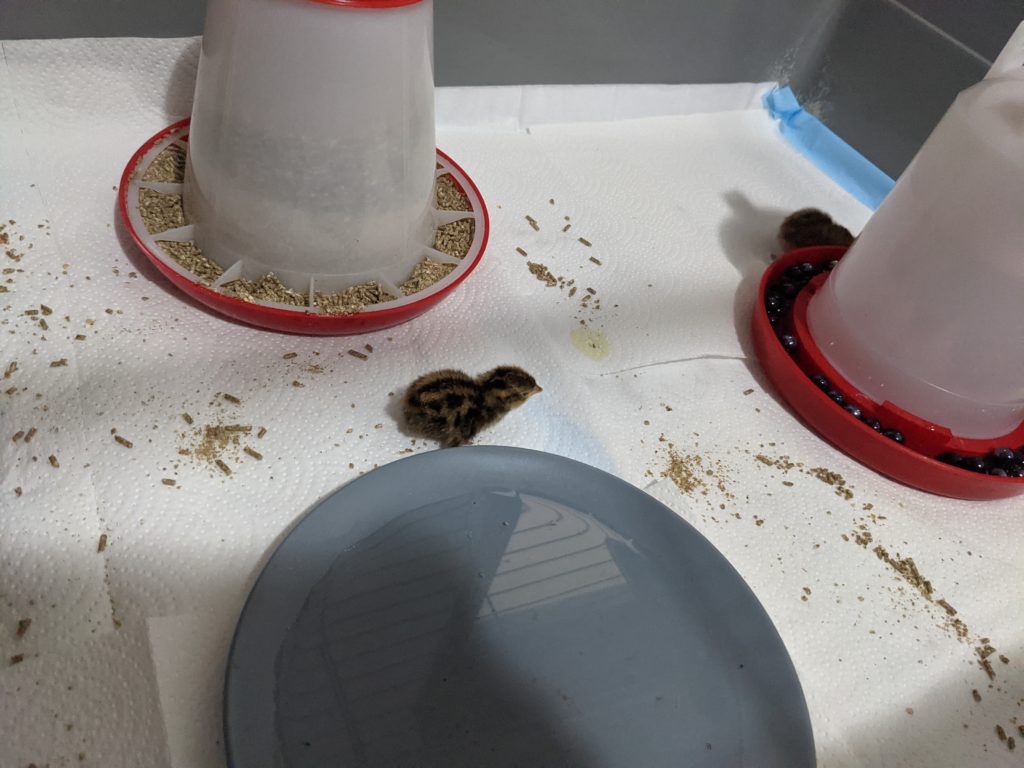
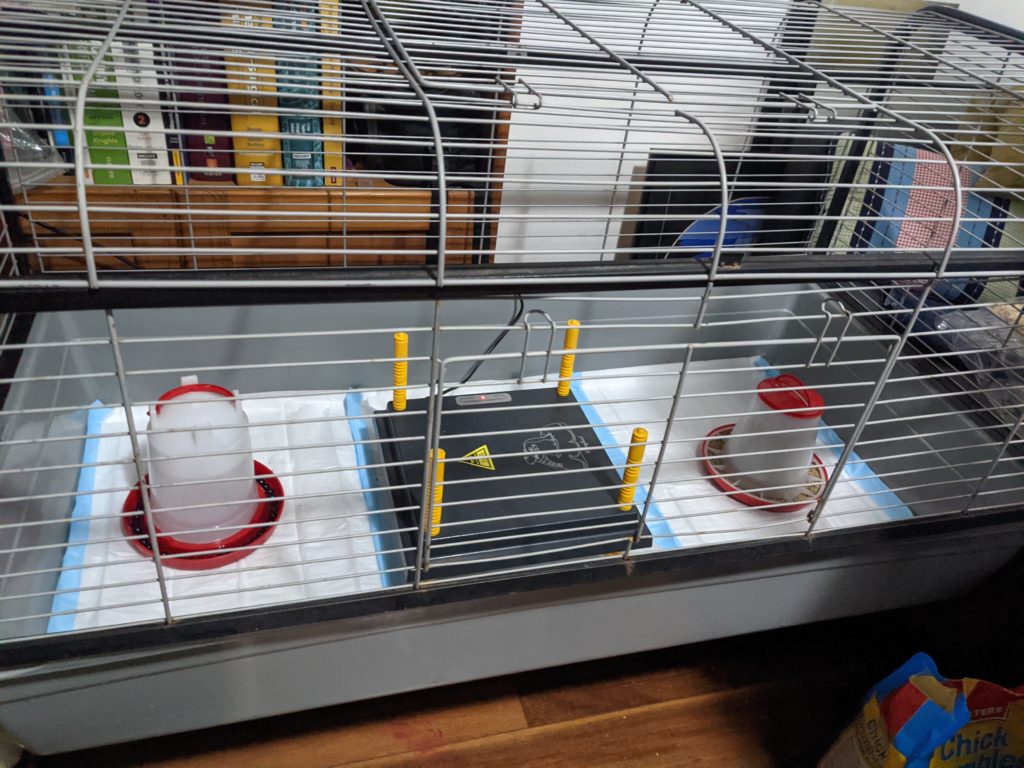
The brooding area is set up and ready to go. We bought a trough-like hutch for the brooding process to keep the chicks inside until they are 6 weeks old and can be moved outside and withstand the weather. We are keeping the brooder in the study, and look forward to hearing the small chirps of baby birds while sitting at the computer.
We decided to use a heating plate or “Electric Hen” rather than a heat lamp, mostly due to the safety aspects and the risk of starting a fire with a heat lamp. We bought a feeder and waterer, chick crumble and marbles to put in the waterer to ensure the chicks don’t accidentally drown. Drowing is a serious risk with quail are they are so small when they hatch. We placed puppy pads in the bottom of the trough as they are absobant, non slip, cheap and disposable (nursing hack right here!). We also have dust- and particulate-free wood shavings to add slowly so they get used to it before having similar bedding in the coop outside.
Once the chicks start to hatch, they are left in the incubator until they get nice and fluffy. If you pull them out too early, they are unable to regulate body heat and will die very quickly. They can survive up to twenty four hours (unlike chickens who can for days) in the incubator without food, so we won’t need to worry about getting each quail out as soon as they are ready if there are freshly hatched quails that wouldn’t tolerate the change in temperature and humidity from opening the incubator.
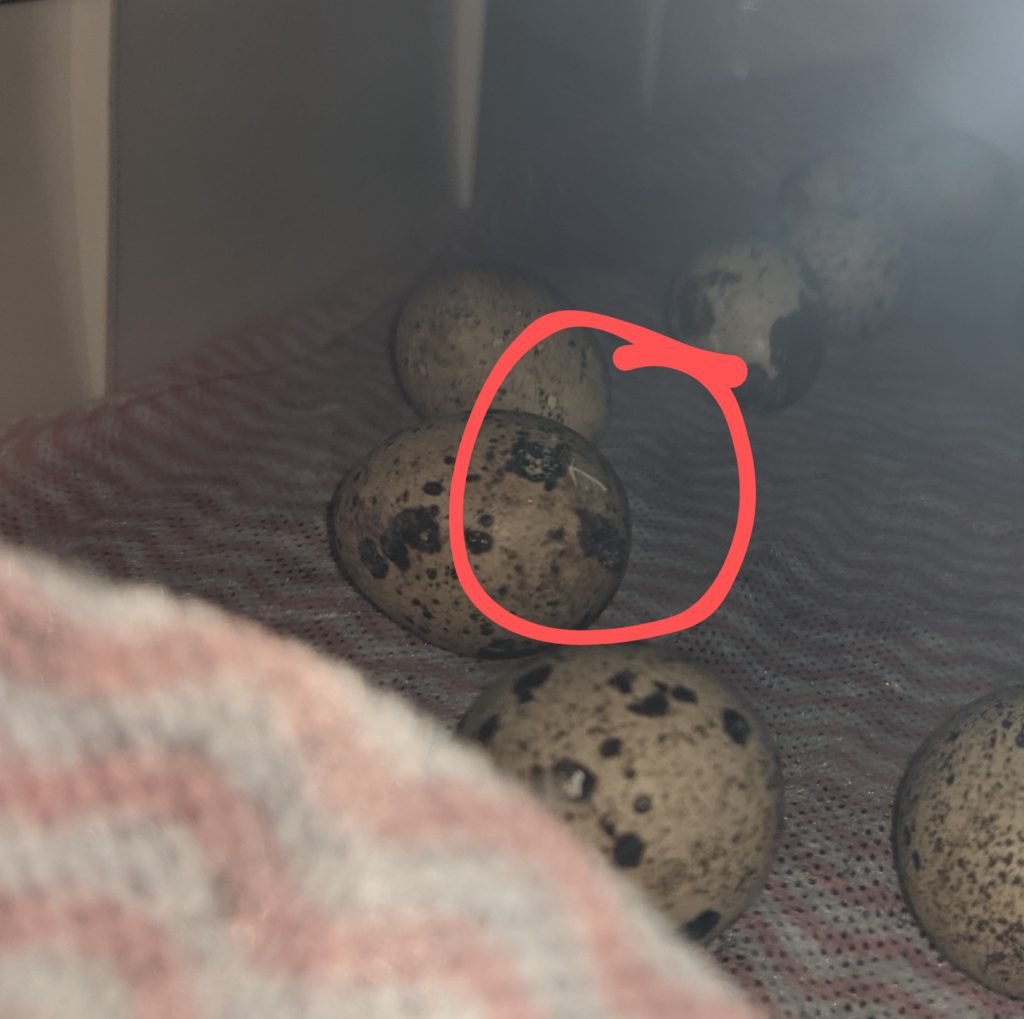
48 Hours Later...
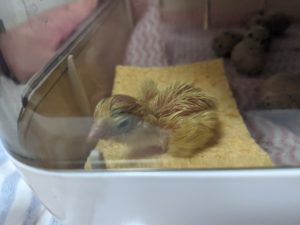
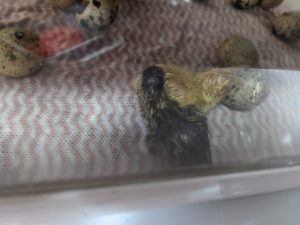
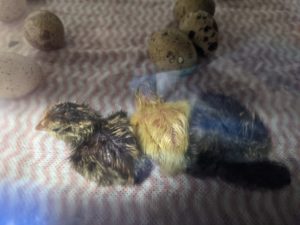
10am on Saturday 25th September, they’re alive! The cutest, smallest little things we have ever seen, affectionately now known as “The Itty Bitty Boys”. The process from a huge pip, to zipping to hatching took no time at all, and it was an amazing thing to watch. We were lucky that we just happened to walk past to see the first four hatch. The videos are the first two hatching, with striking differences in colour.
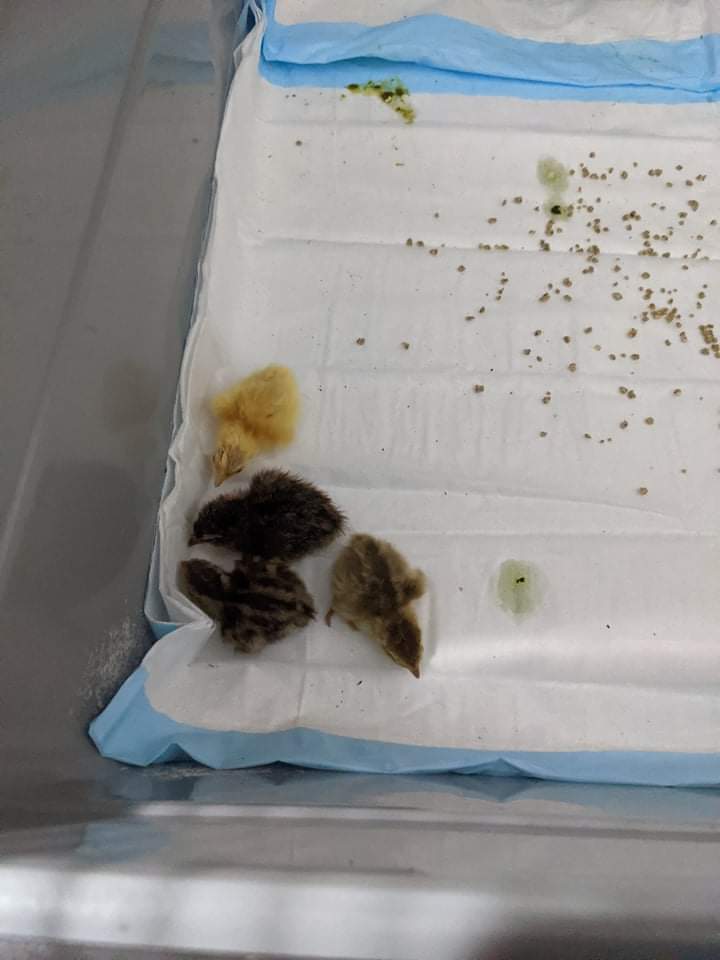
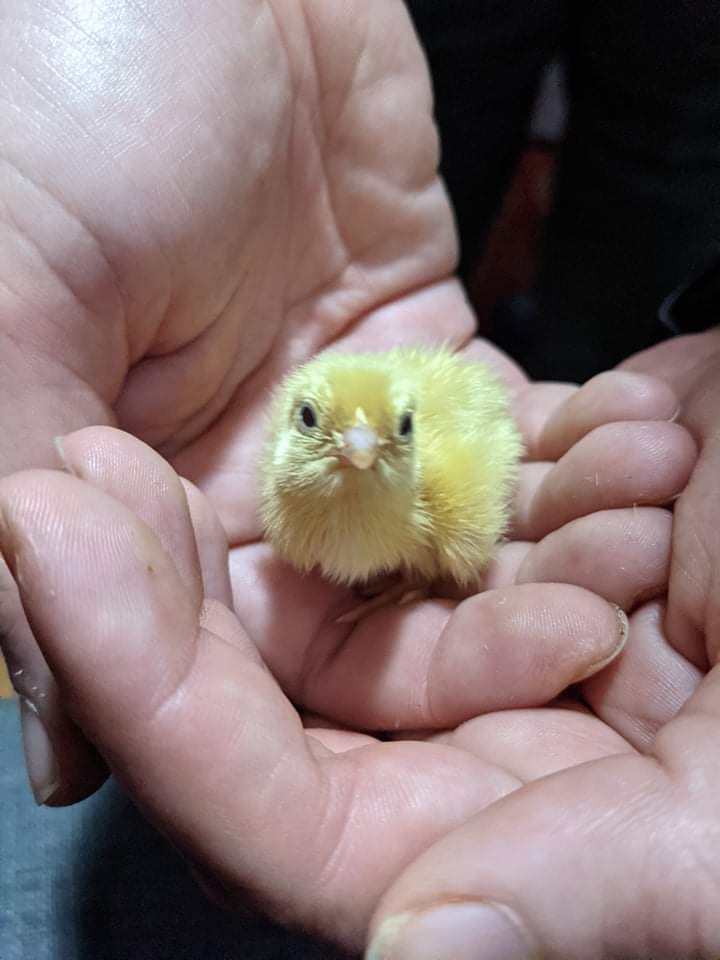
Around 4pm, the first four were dry, fluffy, and ready to move to the brooder. There was also a break in hatching, which is the ideal time to move chicks. You don’t want to open the incubator while chicks are almost about to zip, otherwise the drop in humidity can cause the membrane to shrink-wrap the chicks and make it next to impossible for them to hatch. It was interesting to see that the first four quails that hatched, they were all different colours. It seemed like we have a English White, Tibetan, Pharaoh and a Tuxedo so far.
In the incubator, we noticed that there might be some issues with two of the birds. One had a curled foot, and another had both feet curled. Once they were in the brooder, we were able to get a better look, and we frantically researched what the best solution was. We decided we would give it until tomrrow to see whether they sort themselves out (which is possible as they have more room to move and able to get better grip on the flooring). If they are still looking a bit curled, we will tape them flat with bandaids and leave them on for 8-12 hours.
Upon transferring to the brooder, we dipped their beaks into the waterer and gave them a little drink, before placing them close to the heat pad, which they quickly retreated under. We also sprinkled around some crushed up food around the place so they learn to forage and what their food tastes like. Originally, we just had some regular chick crumble, but we did a little more reading and found that a game-bird starter would be better as it is slightly higher in protein. There was also some inconclusive information about using medicated chicken feed causing sterility specifically in quail. We didn’t have really have enough time to research this before we needed to feed the quail, and we were luckily able to get same-day delivery for some game-bird starter which arrived within the hour! We had to blitz it into smaller pieces and replaced the food.
As we sit in the study, mesmirised by the delightful chirping of these brand new animals, we hear the sounds of a fifth quail coming from the incubator. Number 5 snuck up on us! Another one hatched shortly after, and we put them into the brooder before we went to bed. We did notice that both of these chicks also had two curled feet that would need to be looked at tomorrow. We left the light on in the study, so they could get familiar with the layout and be able to see where the food and water is if needed. Happy little chickies, peeping away through the night.
Sunday morning, we woke to 4 more quails in the incubator. By 10am they were dry and fluffy enough to be transferred to the brooder. All four chicks had good feet and seemed to have Pharaoh colouring. Once again, we dipped their beaks in water and placed them at the edge of the heat pad.
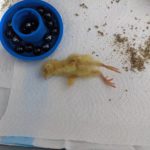
We did notice that some of yesterdays chicks were acting a little strangely. Two were laying on their sides, another on its back, stretched out beside the heat pad. Honestly? We panicked. When we picked them up, they were squirming in our hands (so we knew they weren’t dead), gave them a drink of water and then placed them back under the heat pad. Once again, we did some research, and we got some funny news. Apparently some quail chicks like to “play dead” when sleeping, and find it comfortable to lay like that. We observed it throughout the rest of the day and eventually got comfortable with these guys just being little weirdos giving us heart attacks.
Now it was time to start taping the feet for they day-old chicks. We used fabric bandaids as they have more grip than cardboard or regular tape. I cut the sticky parts off the bandaids, placed the quail foot in the flattened position on the sticky side and then placed another sticky bit on top to keep it stuck in the right position. You can see it on the first picture of the cruel quail giving us heart attacks.
We changed the layout of the brooder today, as we thought it might be confusing for these day old chicks to remember which side the water or food is on. We moved the heat pad up one end and put the food and water down the other.
Every now and then, the quail come running out of the heat pad to explore what their little world is like. Then quickly running back under the heat pad, back to sleep like the cute little weirdos they are.
There is definitely more to come from these sweet little things. We had another two hatch later in the day, leaving 7 eggs in the incubator. As these little fellas grow up, we look forward to seeing what other weird habits they have as we mentally prepare for incubating round 2: chicken time!
In other news:
The garden is really kicking along, two full beds reaching the end of their winter crop and seedlings ready to replace them. We are waiting to finish the chicken area before filling the remaining four beds as moving structures and other chicken-related things will become difficult once the beds have started to grow. We still need to finish the ramp up into the market garden, which will make moving the soil a whole lot easier. The corn, pumpkin and sweet potato had a slow start due to the cold nights and windy days, but are finally starting to come along. The trees are back to life with vibrant new growth and it looks like we might even get some fruit this year! We are looking forward to the arrival of our Crested Cream Legbar chickens and all the quirkiness that will come along with them.
Thank you for reading if you got this far and we hope you enjoy keeping up to date with our adventures!
Update: 1/11/21
We had 13 quails hatch from this first round. After a very traumatic first week, we only had 3 left. Due to a number of factors; egg sourcing, time in incubator and general first time issues, 10 of those first batch of quails failed to thrive. We ended up taking 8 of these little animals to Sugarloaf Veterinary Clinic in West Wallsend for some assistance (glucose and saline drip for energy), yet 24 hours later they had all sadly passed. Two others passed the day after. We knucked it down to two main issues; we were taking them out of the incubator too early (6 hours instead of 12-24), and initially having the brooder set up incorrectly (area was too large and food and water not close enough to heat plate).
The three that survived are doing fantastically, currently at 5 weeks old and able to sex them: two males and one female. They are sitting in the intermediate quail pen (a chicken coop from bunnings) while we organise the final home for them. They are dustbathing daily, having their last week of baby quail food, and enjoying treats of fruits and vegetables.
This update is really just to remind people that there is always a dark side when it comes to raising animals. You wouldn’t think twice about seedings dying, or just choosing the singular thriving seedling out of 10. It is something we will have to come to terms with, as we will be facing it throughout our homesteading journey. But you can be sure that those first three quails will be spoilt for the entirety of their short 2-3 year lifespan!

